


-
DIY Stretcher

Stretch Your Skills: DIY Stretcher Fun!
Ready to put your knot-tying and teamwork to the test?
Build your own sturdy stretcher using spars, ropes, and a little ingenuity! This activity is the perfect mix of practical skills and creative problem-solving. Let’s get started and see if your creation can stand the weight of adventure!
Before you begin
- Don’t forget to make sure
all young people and adults involved in the activity know how to take part safely - Make sure you’ll have enough adult helpers. You may need some parents and carers to help if you’re short on helpers
What you will need
-
2 long wooden spars
-
2 short wooden spars
-
Several lengths of rope
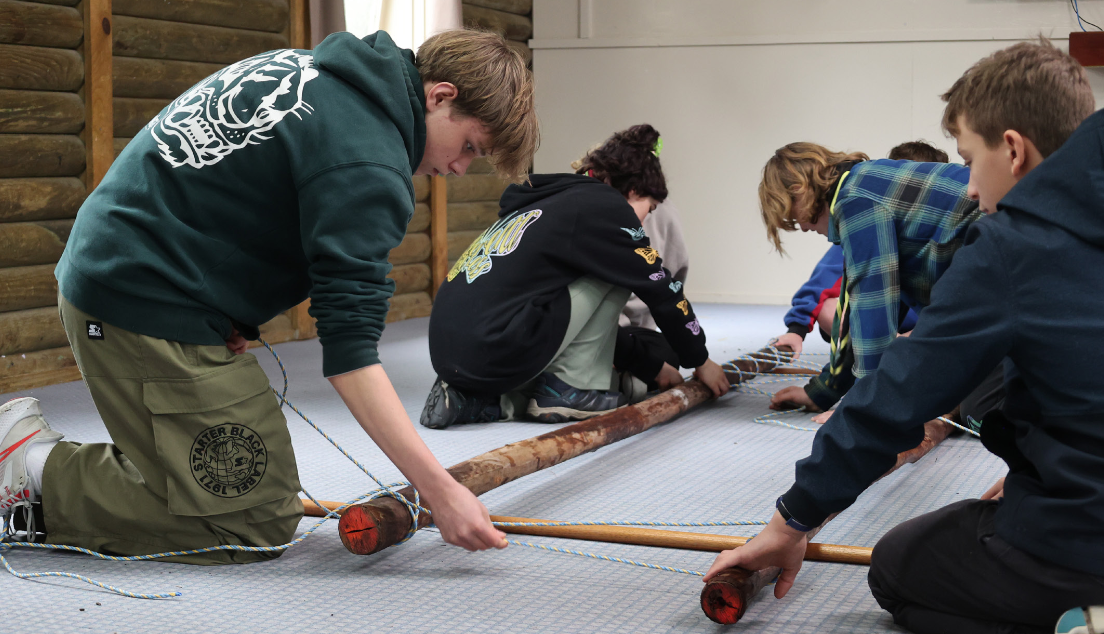
Arrange the spars
• Lay two spars parallel to each other on the ground. These will act as the
main supports.
• Position the other two spars perpendicular to the parallel spars, on either end of
the stretcher. Adjust the location of the end spars depending on the size of the stretcher needed. These will form the crosspieces.
Secure the crosspieces
-
Use square lashings to secure each crosspiece to the parallel spars:
-
Place the crosspiece on top of the parallel spar.
-
Begin by making a clove hitch around the parallel spar.
-
Wrap the rope around both spars in a square lashing pattern: Make three tight wraps horizontally, then three vertically.
-
Finish with a clove hitch to secure the lashing.
-
-
Repeat for the second crosspiece on the other end.
-
Ensure all lashings are tight to keep the frame rigid and secure.
Create the bed of the stretcher
- Take another length of rope and create a webbed platform between the two parallel spars:
- Tie the rope to one end of a parallel spar using a clove hitch or similar knot.
- Begin weaving the rope back and forth between the two parallel spars to form a series of horizontal strands.
- After finishing the horizontal strands, weave vertically or diagonally through the horizontal ropes to create a sturdy mesh.
- Tighten the rope as you go to ensure the webbing will support weight evenly.
- Secure the end of the rope with a firm knot, such as a clove hitch or square knot.
Test the stretcher
-
Before use, gently apply weight to the stretcher to ensure the lashings and webbing are secure.
-
Make any adjustments as needed to reinforce the structure.

Change the challenge level
-
Ensure the spars are free of splinters and sturdy enough to bear weight.
-
Practice square lashings beforehand to make the process smoother.
-
If available, use a tarp or blanket on top of the rope webbing for added comfort and support.
Reflection
This activity puts your skills with lashings to the test. Getting the techniques right was the difference between carrying your patient safely or them falling on the floor!
How did you work together to make sure all of your lashings were tight enough to hold securely? This stretcher would’ve been very difficult to build alone, without someone to hold the spars together while you were lashing.
Having someone check your lashings as you went would’ve saved time too. Pioneering isn’t about speed. It’s about building something safe and useful. You can take your time and start again if you need to.