


Grow It, Then Plant It
In this hands-on gardening activity, Scouts will make their own biodegradable paper pots using recycled paper and grow vegetables from seed. These pots can be planted directly into the garden, making them a great eco-friendly way to reduce plastic use and connect with nature.
This activity encourages sustainability, independence, and care for living things.
What you'll need
-
A4 paper or newspaper (cut to size if needed)
-
Small jars or plastic cups (roughly peanut butter jar size)
-
Vegetable seeds (choose seasonal and suitable varieties)
-
Pre-moistened potting mix
-
Paper-based craft tape
-
Staplers and staples
-
Buckets and hand trowels
-
Masks, goggles, and gloves for safety
Before you begin
-
Discuss with your Unit:
-
Why is it better to use biodegradable pots instead of plastic ones?
-
What do plants need to grow?
-
What types of vegetables grow well in our local area and season?
-
-
Prepare materials and pre-moisten the potting mix so it’s damp but not sloppy.
-
Ensure everyone knows the safety rules for handling potting mix.
Safety
Always wear a mask and eye protection when dispensing potting mix. Reduce risk of inhaling potting mix dust by dampening it prior to use if it is dry. All participants must wear masks when handling the potting mix.
Activity
-
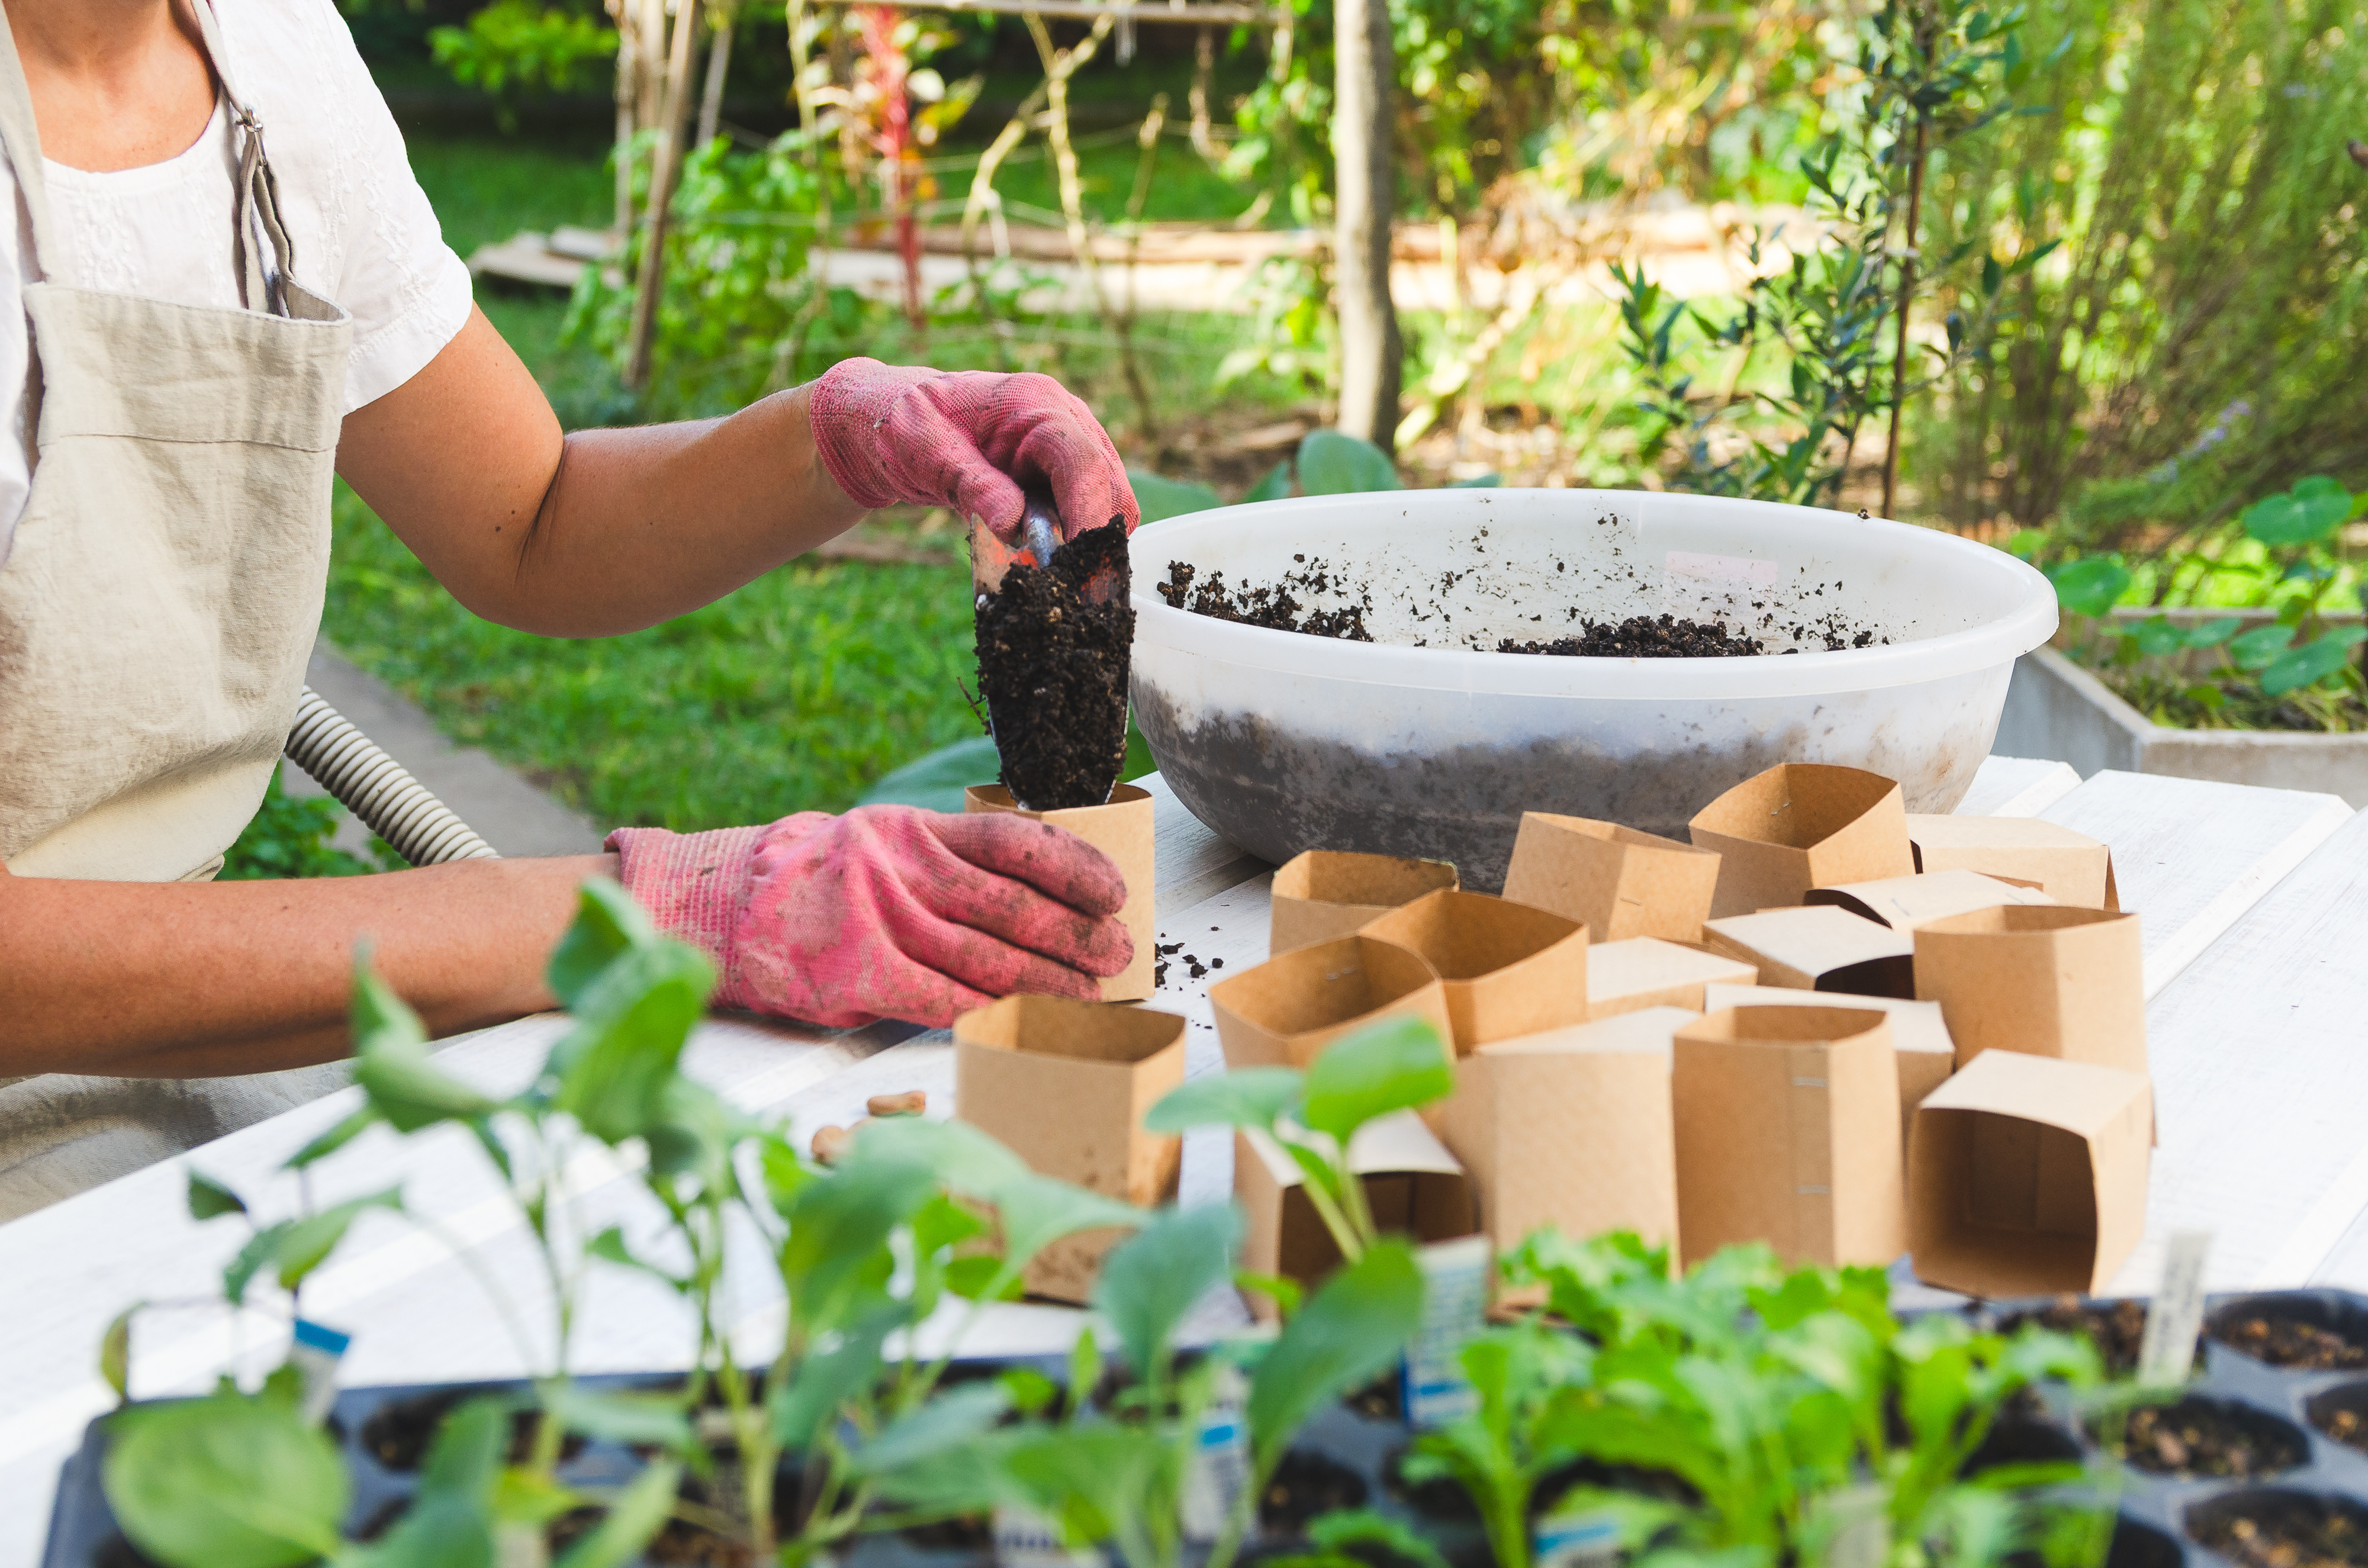
Make the Paper Pot:
-
Fold the paper lengthwise, leaving a small strip overlapping.
-
Place the jar on one end, with some paper hanging over the base.
-
Roll the paper tightly around the jar.
-
Staple the side seam to hold it in place.
-
Fold the overhanging paper over the jar base and press firmly.
-
Pull the jar out of the pot.
-
Add extra staples to secure the sides.
-
Optionally, place a small piece of tape on the bottom to reinforce it.
-
-
Fill the Pot:
-
Use a trowel to fill the paper pot with moist potting mix.
-
Leave a little space at the top.
-
-
Plant the Seeds:
-
Make a small hole (about twice the size of the seed).
-
Place one or two seeds into the hole and gently cover.
-
-
Prepare for Transport:
-
Fold the top of the pot over slightly to keep the soil in.
-
Remind Scouts not to water until they get home, as the paper may fall apart.
-
See this Gardening Australia YouTube video for an example of what to do.
Change the challenge level
Easier:
-
Pre-fold the paper or assist younger Scouts step-by-step.
-
Use larger seeds that are easier to handle.
Harder:
-
Research different paper types and how they affect plant growth.
-
Track seedling growth and present findings to the Unit.
-
Extend into a mini project where Scouts grow, harvest, and cook their own produce.
Reflection
-
How easy or hard was it to make the pot?
-
Have your seeds started growing yet?
-
What are you doing to care for your plant at home?
-
Where is the best place in your garden to plant it?
-
Would you try growing something else this way?